Taking on a commission to paint 100 Starwings was a daunting challenge, I’m not a commission painter & I tend to be a slow painter based upon the techniques that I normally use. The initial though was to base coat them in gray & then use a wash to darken the shadows & corners. Unfortunately, this technique is a challenge with 3d printed models, because the wash settles into printer layer lines & artifacts & can make the model look really bad. I settled on a dry brushing technique that I use on 15mm infantry as the best compromise for speed & appearance.
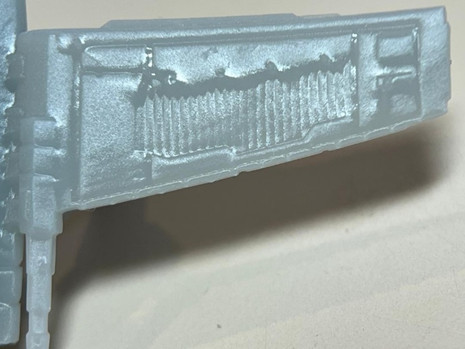
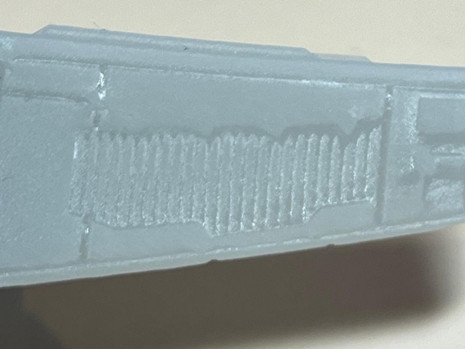
Models created using 3D printing typically require clean up in order to prepare the model for painting. The Starwings are resin printed, the process builds up layers of photo sensitive resin exposed to light to harden the resin. The models are printed in layers & sometimes the layer lines & other artifacts of the printing process remain visible on completed models. Models are often printed at certain angles to lessen the impact of these lines on the surface quality. The Starwing is a complex shaped model, it has horizontal, vertical & diagonal surfaces which means not all can be printed as the optimal angle in a one piece model. In addition, the printing process requires supports to hold up the model while it prints. Parts can’t be printed in thin air & require columns of support material to build up to the level of the parts being printed.
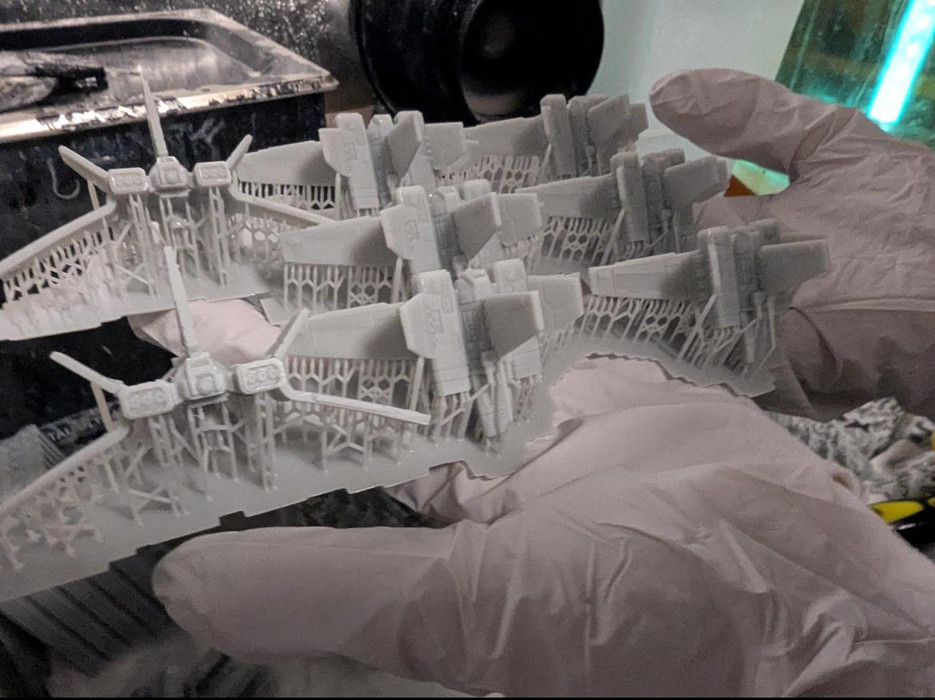
After printing, these supports are snipped or broken off the model before it is hardened & cured using UV light. Removing the supports too closely to the model risks creating a divot. Not removing them closely means you have extra pieces on the model that need to be snipped or sanded off. Sometimes they try to look like greebles & that they are part of the model. Sometimes after rinsing, some residual resin remains on the model & fills in details or puddles. In order to get these Starwings completed with reasonable expense, clean up efforts were concentrated on the top surfaces & the bottom surfaces on many models are not perfect.
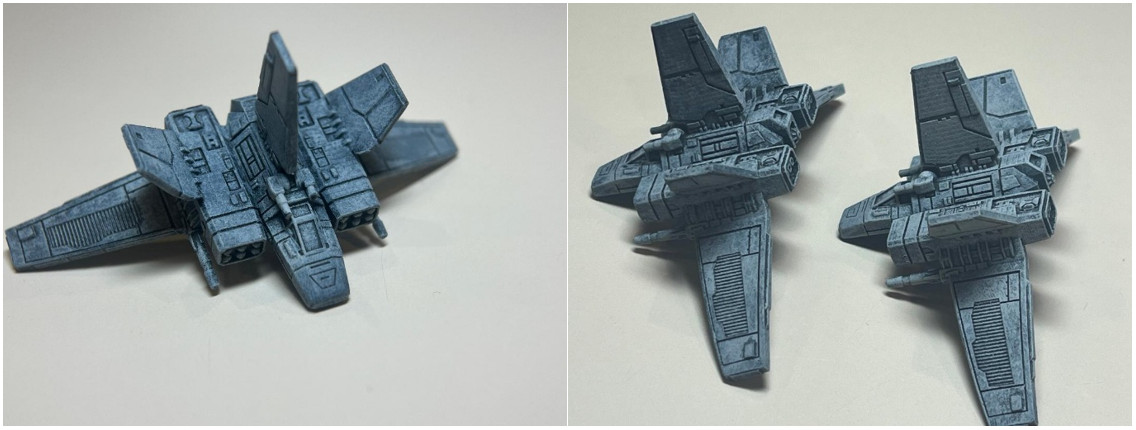
Dry brushing is a technique that does not require a lot of artistic skill to achieve a decent looking miniature. While it is commonly used to highlight raised areas on a model, it can also be used to create the basecoat & highlights simultaneously over a dark undercoat. It takes a little practice, but you can build up drybrush layers until you are happy with the result. Putting too much paint on too quickly is the primary trap of this technique. It is better to do 2-3 lighter drybrush layers instead of 1 heavy layer.
The technique uses basic materials that are affordable. The base coat is Rustoleum 2x Ultra Cover Flat Black Primer available at many hardware store & retail locations. Though any similar flat black primer will do.
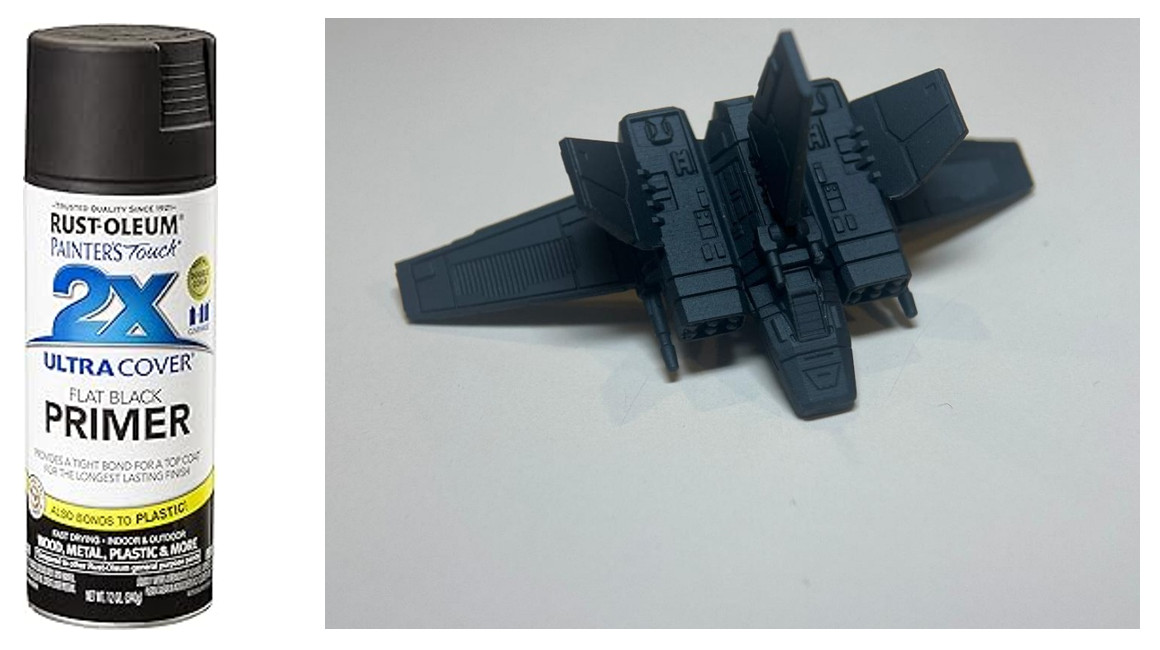
The key is to not get the paint too thick & drown out the details. I put the miniatures in a low cardboard box & spray them from about 12 inches away. After they dry for an hour or so, I flip them over & paint another side. The Starwings required 3 different positions to get all of the ship covered because of their shapes. You need the proper conditions to spray paint, the can lists specifications but I try to primer between 60-80 Fahrenheit & 50% humidity or lower. If it is too humid, the paint will mix with moisture in the air & clump up leaving a fuzzy surface on the model.
I allow the miniatures to dry for at least a day before dry brushing. You do not need expensive paints or brushes for dry brushing. I used cheap craft paints, they are normally too thick for miniature painting, but for dry brushing this can be an advantage as they don’t run. There is a lot of waste with dry brushing as you clean paint off the brush on a paper towel before applying it to the model. You can find a 2 ounce bottle for under $2 at a craft store & that is enough to paint 100 Starwings. I chose Matte Steele Gray from the FolkArt line, but obviously any gray that you like can work.

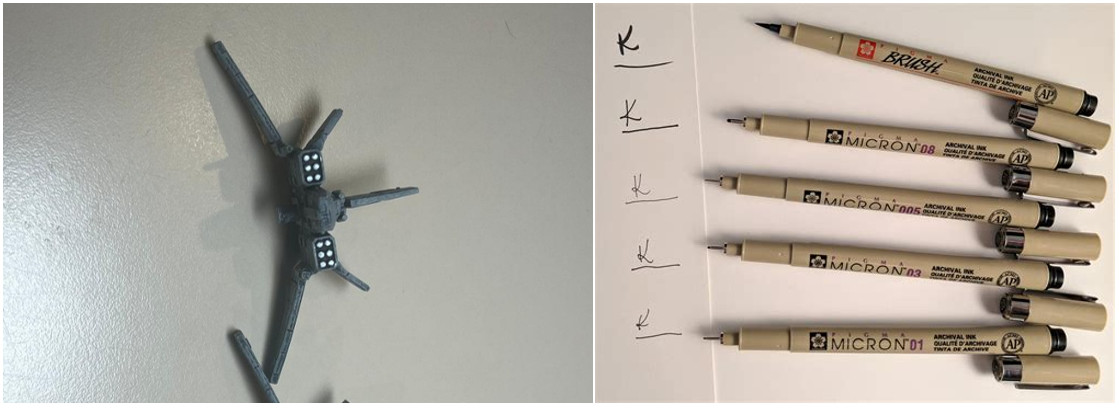
Dry brushing is hard on brushes, but fortunately you don’t need expensive ones. I often use flat brushes for dry brushing when I am trying to edge highlight to have more control. When using dry brushing to complete the basecoat on a model, I use make up brushes as they cover a wider area. I’ve seen the expensive ones, but I chose some basic make up brushes from a retail store. I don’t even think they had a brand marking on them. But they are similar to this set pictured. It takes a little experimentation to decide which brush works best for you, but just pick one of the medium sized ones & it should work just fine. If you want to paint larger ships with this technique, the bigger brushes might come in handy. If you have details that are hard to reach you can use a smaller brush to get into those areas.
Dry brushing techniques can be found illustrated on youtube & other locations if you would like to see demonstrations. The technique is fairly simple but practice makes it easier.
You put a dab of paint on your pallet or directly on a paper towel folded up several layers thick to prevent it soaking through. Dip the tip of the brush into the paint, then dry the brush on a clean section of paper towel until there is only a small amount of paint on the brush. It is better to be too dry than too wet. A brush with too much paint will smear paint all over the model. You lightly brush the miniature with the brush & you get a light deposit of paint on the higher areas while the depressions remain dark for contrast. I start on a ‘solid’ area of the ship first, like the edges of a wing, because if there is slightly too much paint it will go on an area that will be completely covered in gray with no dark recesses.
You should go light with your dry brushing to protect the dark paint in the recesses. I recommend that you do at least 2 light coats or even 3 to build up the dry brushing. I leave the ships to dry between those coats. By using multiple coats, the flat areas get color slowly built up & the edges get more paint & build up natural highlights over the black undercoat.
I painted the guns & cannons using a black wash that darkened the gray & added deeper black shadows to the guns. The missile tubes were painted with white acrylic paint pens. Engines were painted using red acrylic paint pens. Mounting pegs were painted with a black acrylic paint pen. Using paint pens was a new technique for me, but I experimented to find these ways of painting them more quickly.
Cockpits were blackened using waterproof & bleed proof micron pens to make them black followed by painting on gloss varnish applied after the ships were dull coated. Any brand will work.
Caution: do not use regular Sharpies as their ink can run when you add a dull coat to the miniatures.
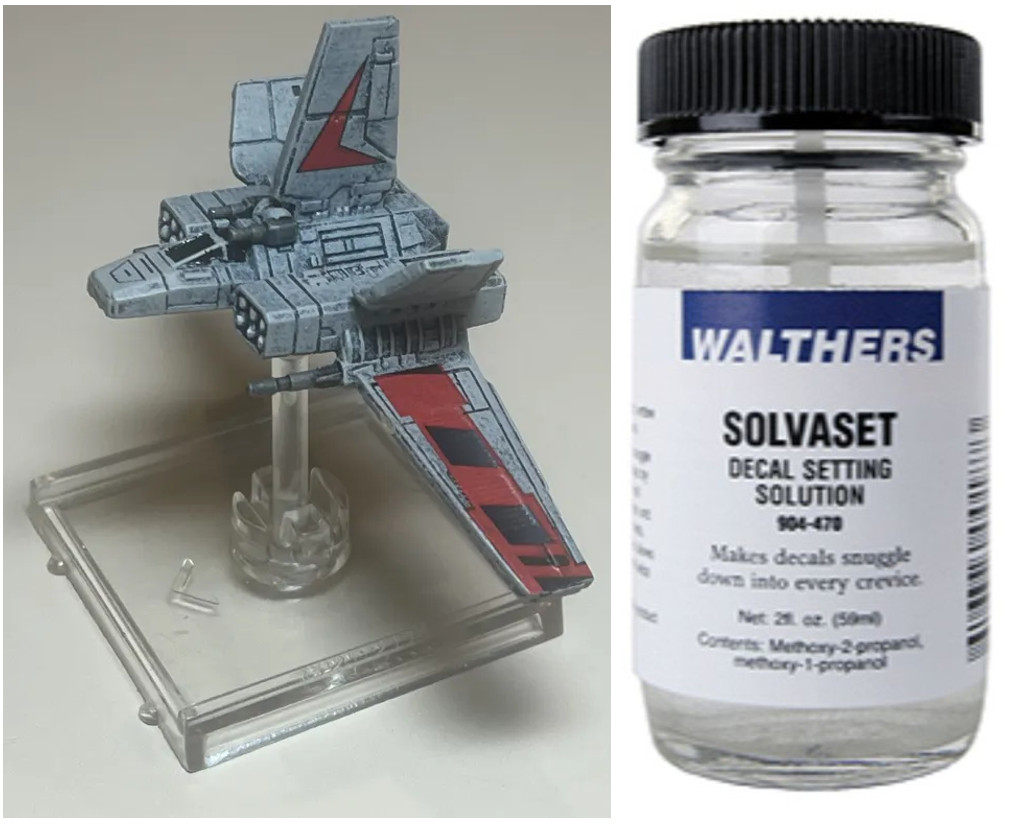
Decal application is a multistep process, but none of the steps are technically difficult.
- Apply gloss varnish to the location where the decal will go so it will fit smoothly.
- Get the decal wet with water & apply water to the decal location on the model.
- After about 30 seconds, the decal will be ready to slide off the paper & onto the model. The water allows you a chance to move it around with a paint brush to get it properly positioned.
- After the decal has dried, carefully apply a decal solvent with a brush to soften the decal into the texture of the ship. The brush can be used to push down on the decal to press it into the details, but you must not push laterally or you may tear the decal. I often do this step twice allowing time for the decal to dry thoroughly in between.
- Apply gloss varnish over the decal to lock them in place & protect them.
Once the miniature is complete & dry, I spray them with a dull coat. On this material, I do not skimp because a bad dull coat can ruin a paint job. I primarily use Windsor & Newton professional matt spray but Testors Dull Coat is another common & popular brand.